A Handmade External Antenna For a Mobile Modem or Router
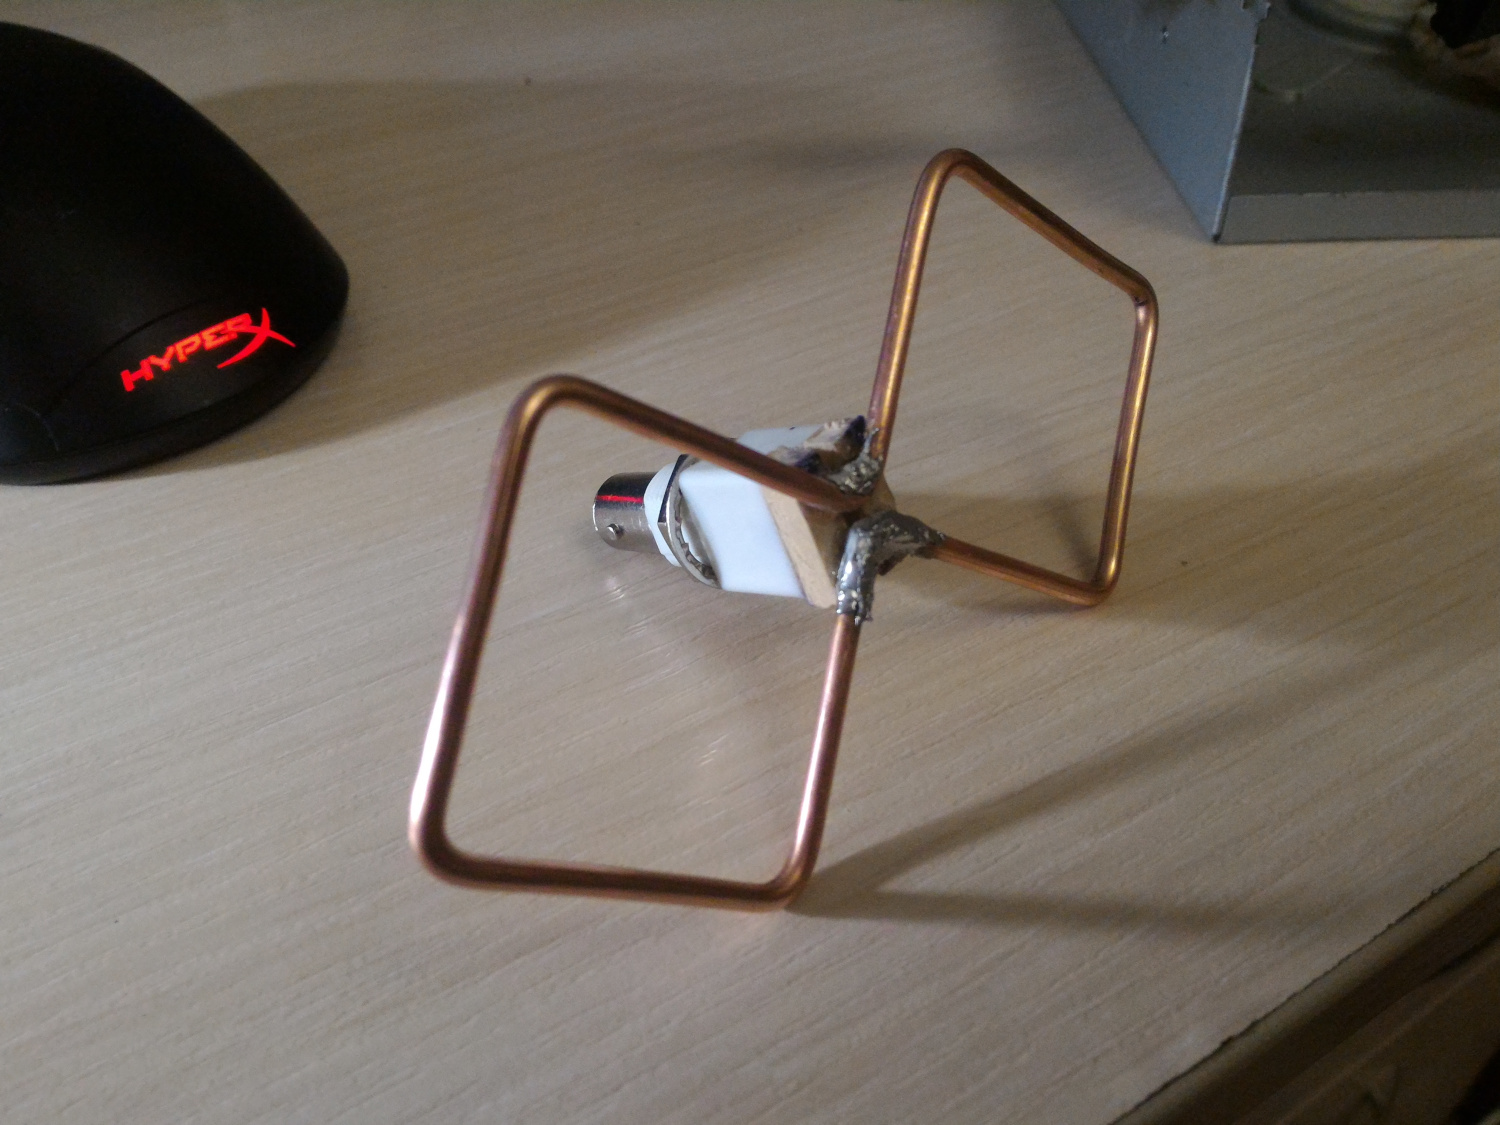
Recently I have completed my tiny DIY-project: an external antenna for a 3G modem/router so I decided to make a post to provide some additional details as well as to publish some photographs. You can find them at the end of the post.
According to my measurements, the antenna gives the gain around 8-9 Db. I believe it is a good result: maximal theoretical gain of such an antenna is 10.5 Db. I wanted to make a portable variant that I can take with me in a case of travelling.
The design of the antenna is well known here in Ukraine as well as in other ex-USSR countries. Its name is 'Kharchenko's antenna' ("антенна Харченко" in Russian, "антена Харченка" in Ukrainian), named after a Soviet engineer who invented it. The article with the original design was published in edition #11 of a magazine 'Radio' ("Радио" in Russian) in 1964. You can find the article on page 50. By design, it is an (omni)directional antenna. An almost the same design, with minor differences, was popularised in the English-speaking part of the Internet by Trevor Marshall, so it is often named after him there ('Trevor Marshall's antenna'). Another very common name for it is 'Bi-Quad antenna.'
Originally, it was designed for receiving TV-signal, but with the development of the technologies, the base design was adapted for the new standards, e.g. Wi-Fi, CDMA, 3G (WCDMA) and so on. Indeed, I can remember this antenna being used for receiving TV-signal when I was a child. To this very day, it is one of the most practical designs for many applications. Here, in ex-USSR, its variant is often used for boosting Wi-Fi signal (an example). I believe it is one of the best designs for a portable antenna, as it is possible to fit all the parts in a compact case.
One might wonder why I made an antenna for 3G in the times when the 4G is widely deployed? Well, here, in Ukraine, 4G has appeared only this year (yes, in 2018). 3G was introduced a couple of years earlier so it is more widely available: in the case, when you might need an external antenna, there are more chances to receive the 3G signal rather than 4G.
Here I shall quote William Gibson:
The future is already here — it's just not very evenly distributed.
I am not complaining though, as it is better to have something later than never.
If you are intrigued enough and want to make one for your own use, you have to do all the necessary calculations to make the antenna that is well tuned for a targeted radio frequency. Fortunately, there is an Android application, named 'Cantennator', which can do all the necessary calculations for you. By the way, the application does support other antenna designs too. A real gem for an antenna geek!
The author of the program has a site (in Russian) which is dedicated to different antenna designs for numerous applications. The information on this site was invaluable.
If you want to make an antenna for 4G, then you should know that 4G uses MIMO so you will need two similar antennas or one, which naturally supports MIMO. In this case, 'Patch-Yagi' antenna seems to be a better alternative, as you can connect two cables to them. Unfortunately, it is harder to make this one portable.
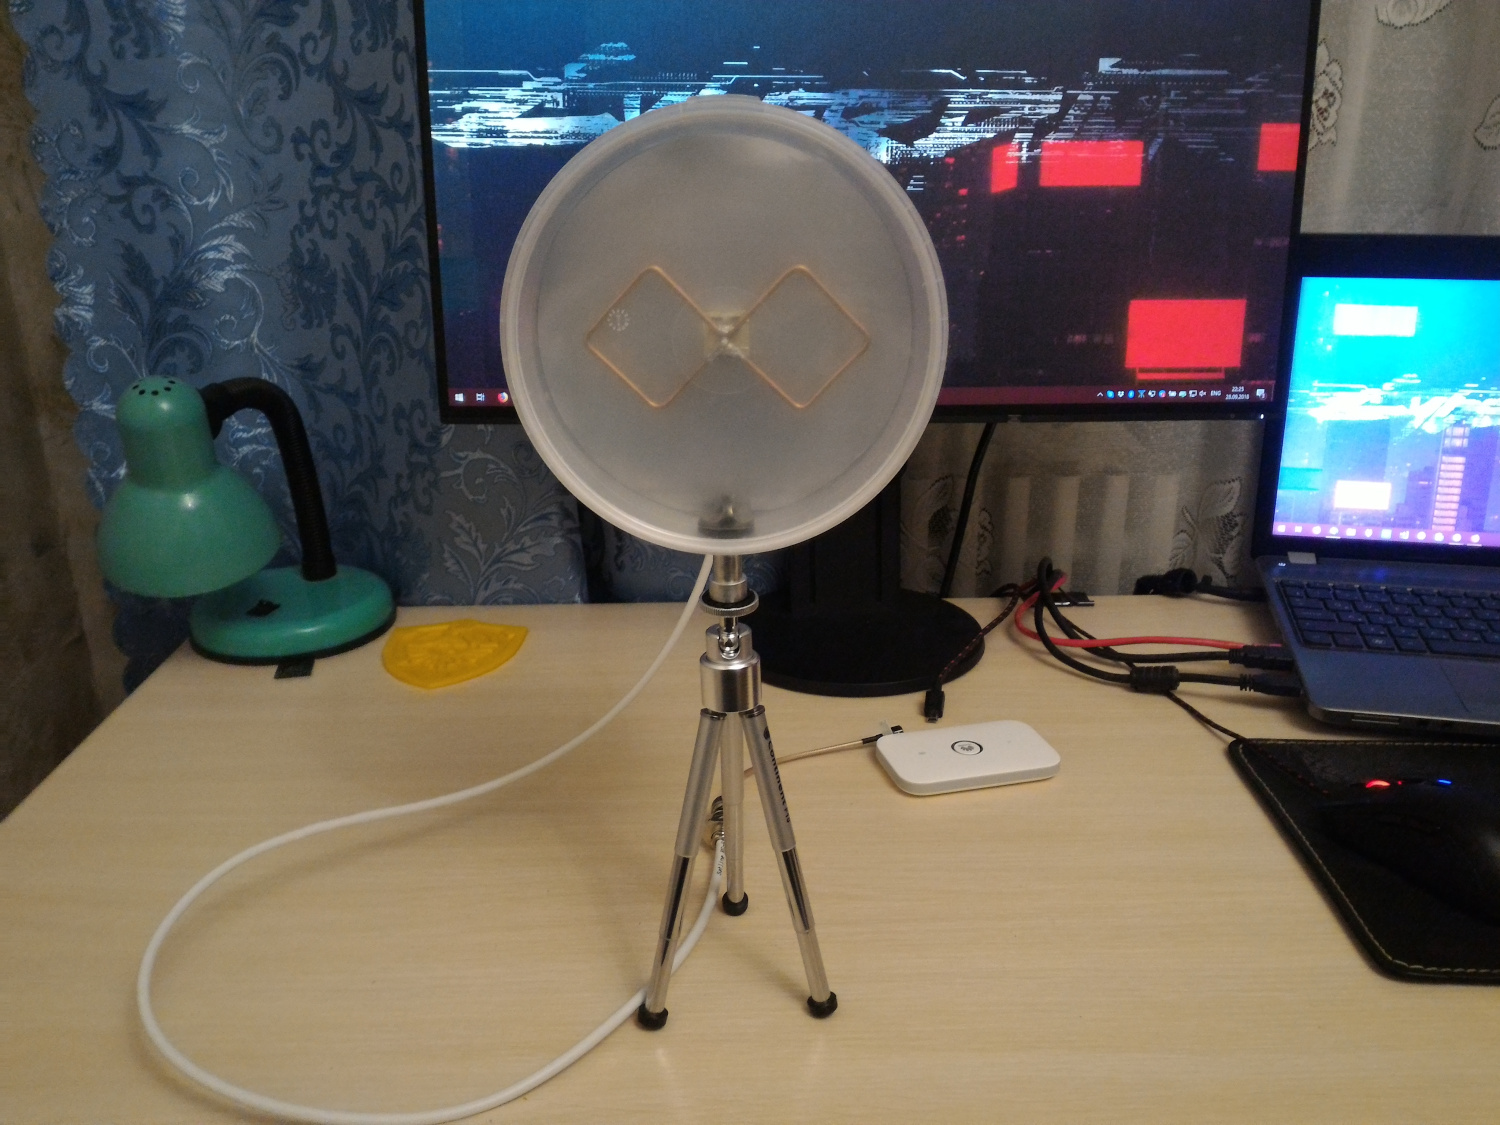
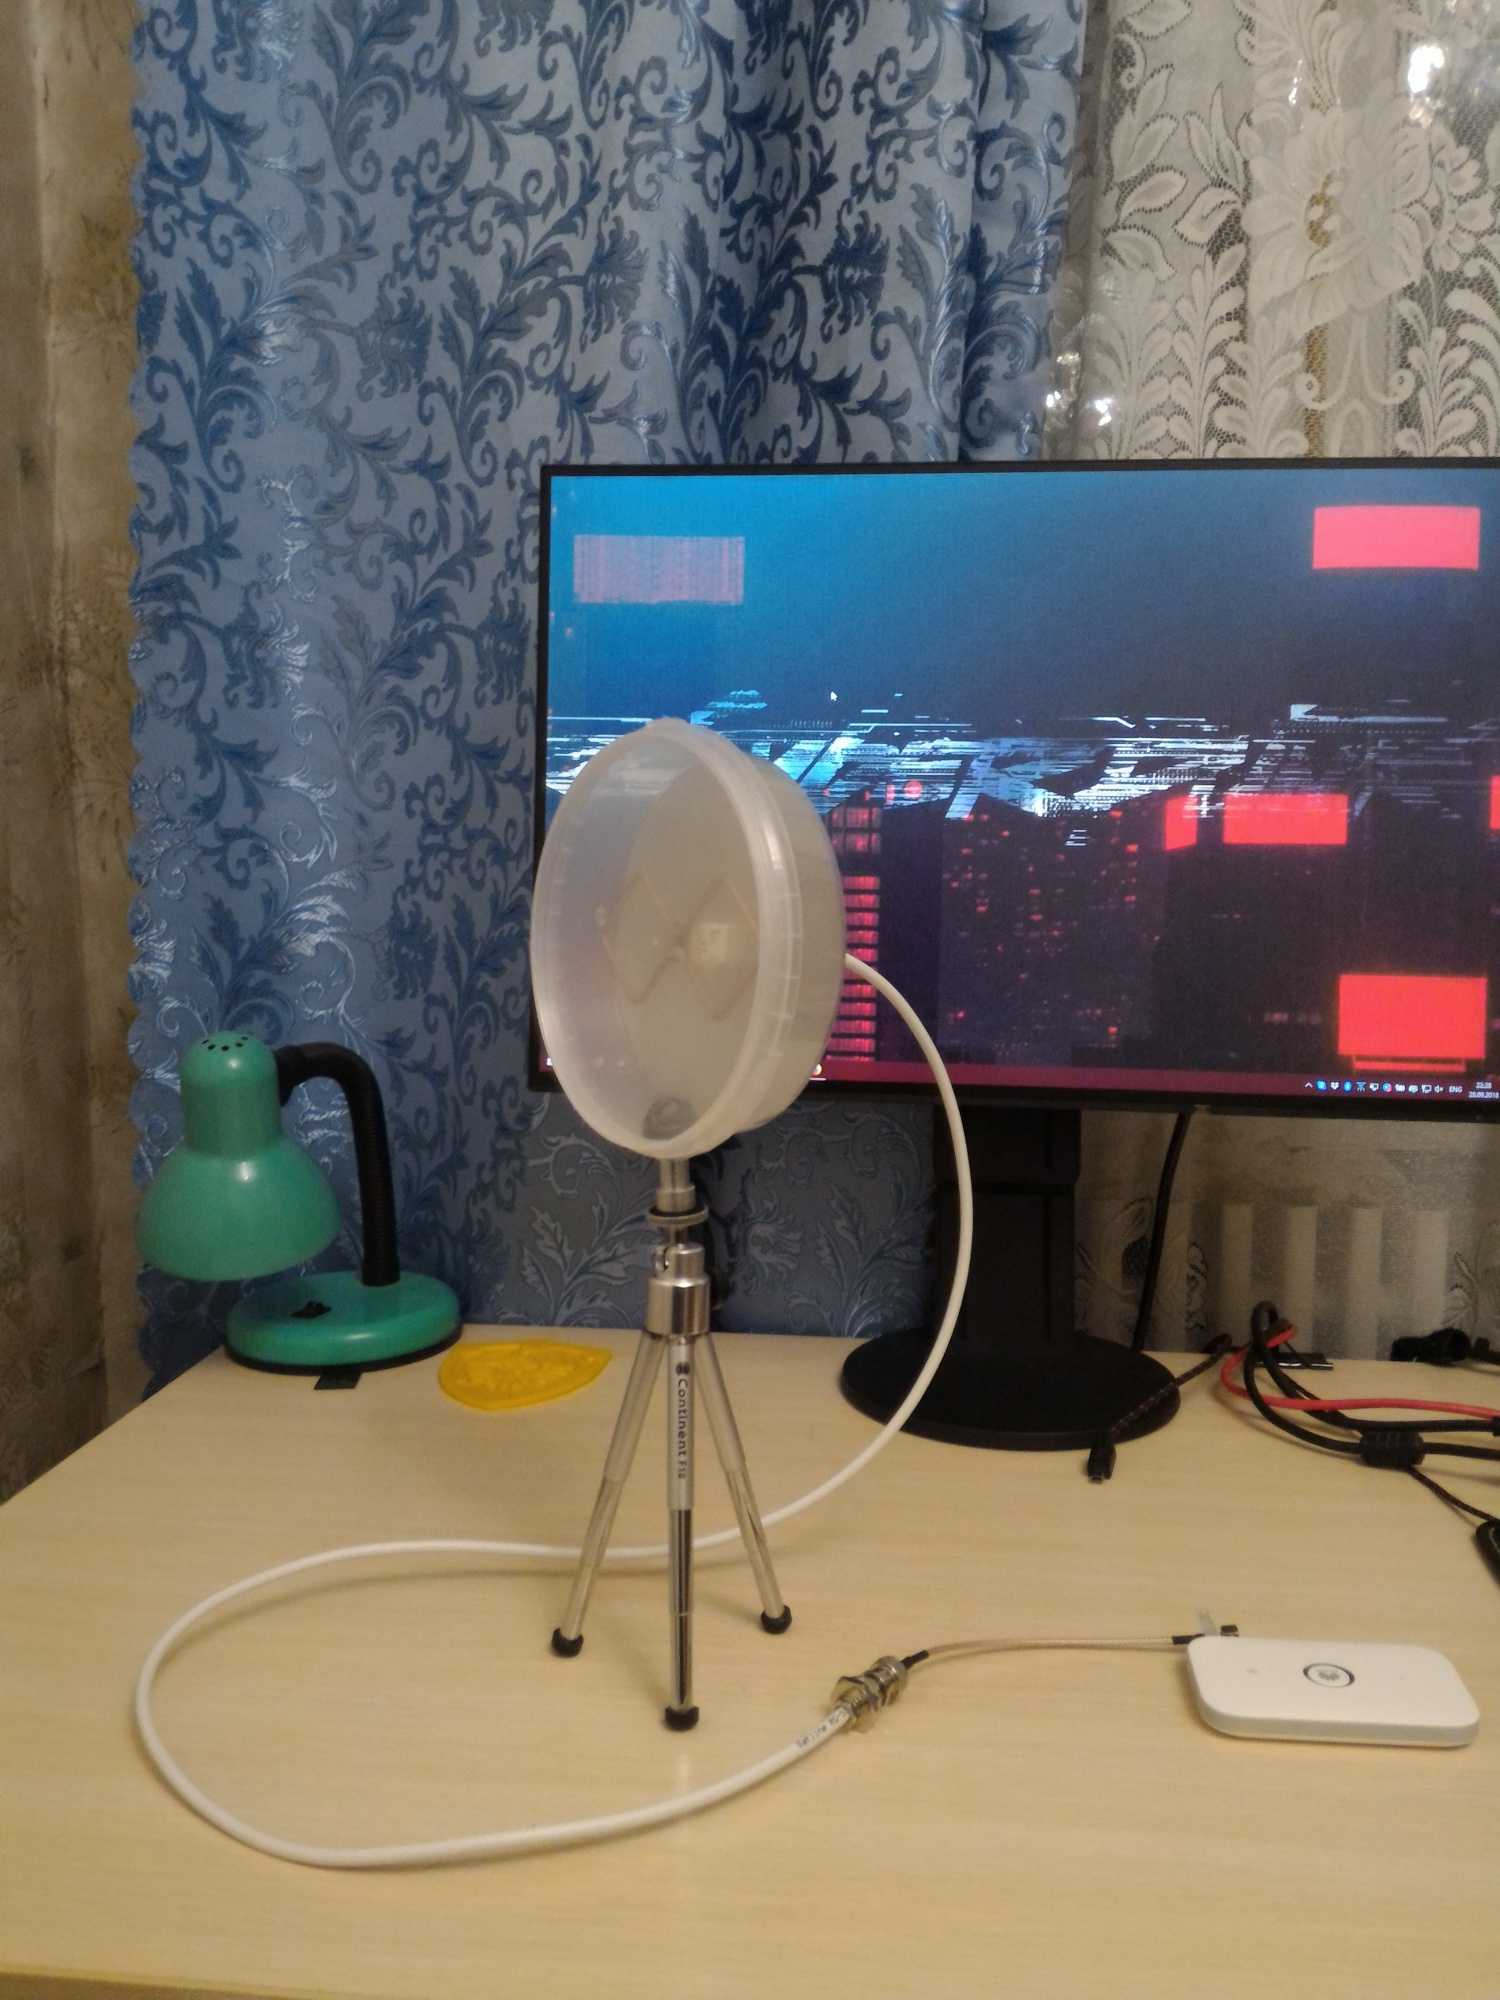
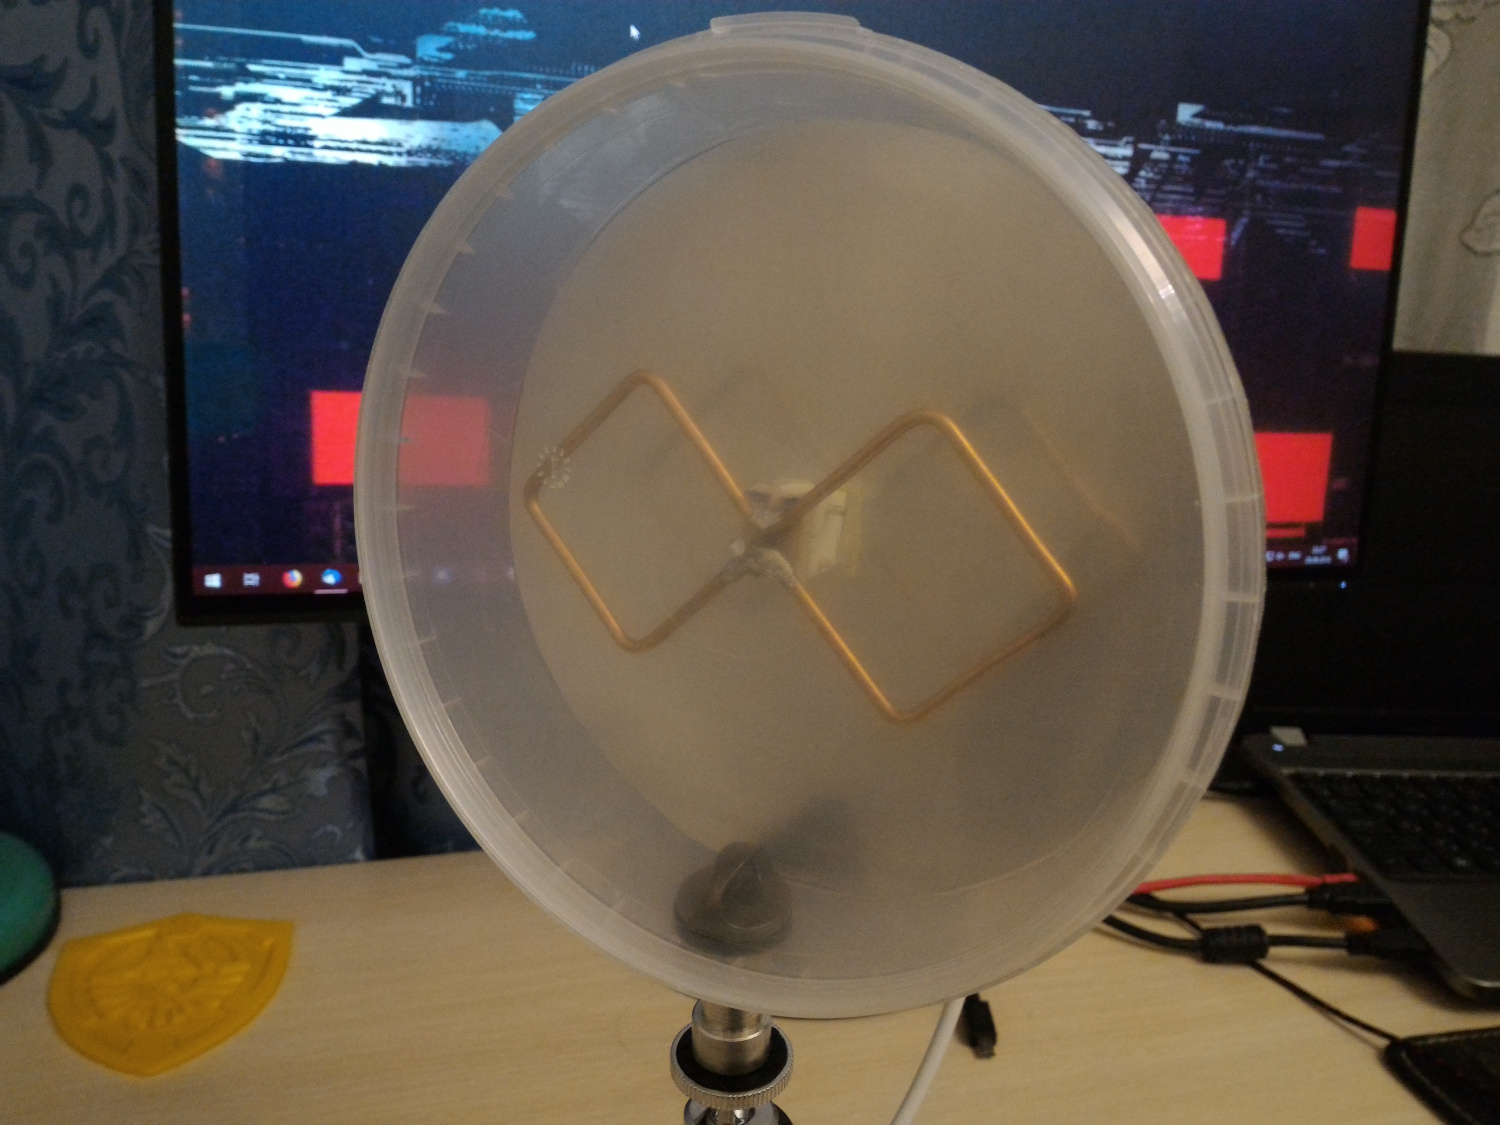
I did not plan to publish a detailed guide on making the antenna. I believe it is rather easy to understand by looking at the provided photographs. Moreover, I think this approach would stimulate your creativity. For your convenience, I provided the list of the main parts and materials, which I used, as well as some recommendations. Please keep in mind that I am not an expert on this topic though.
You will need:
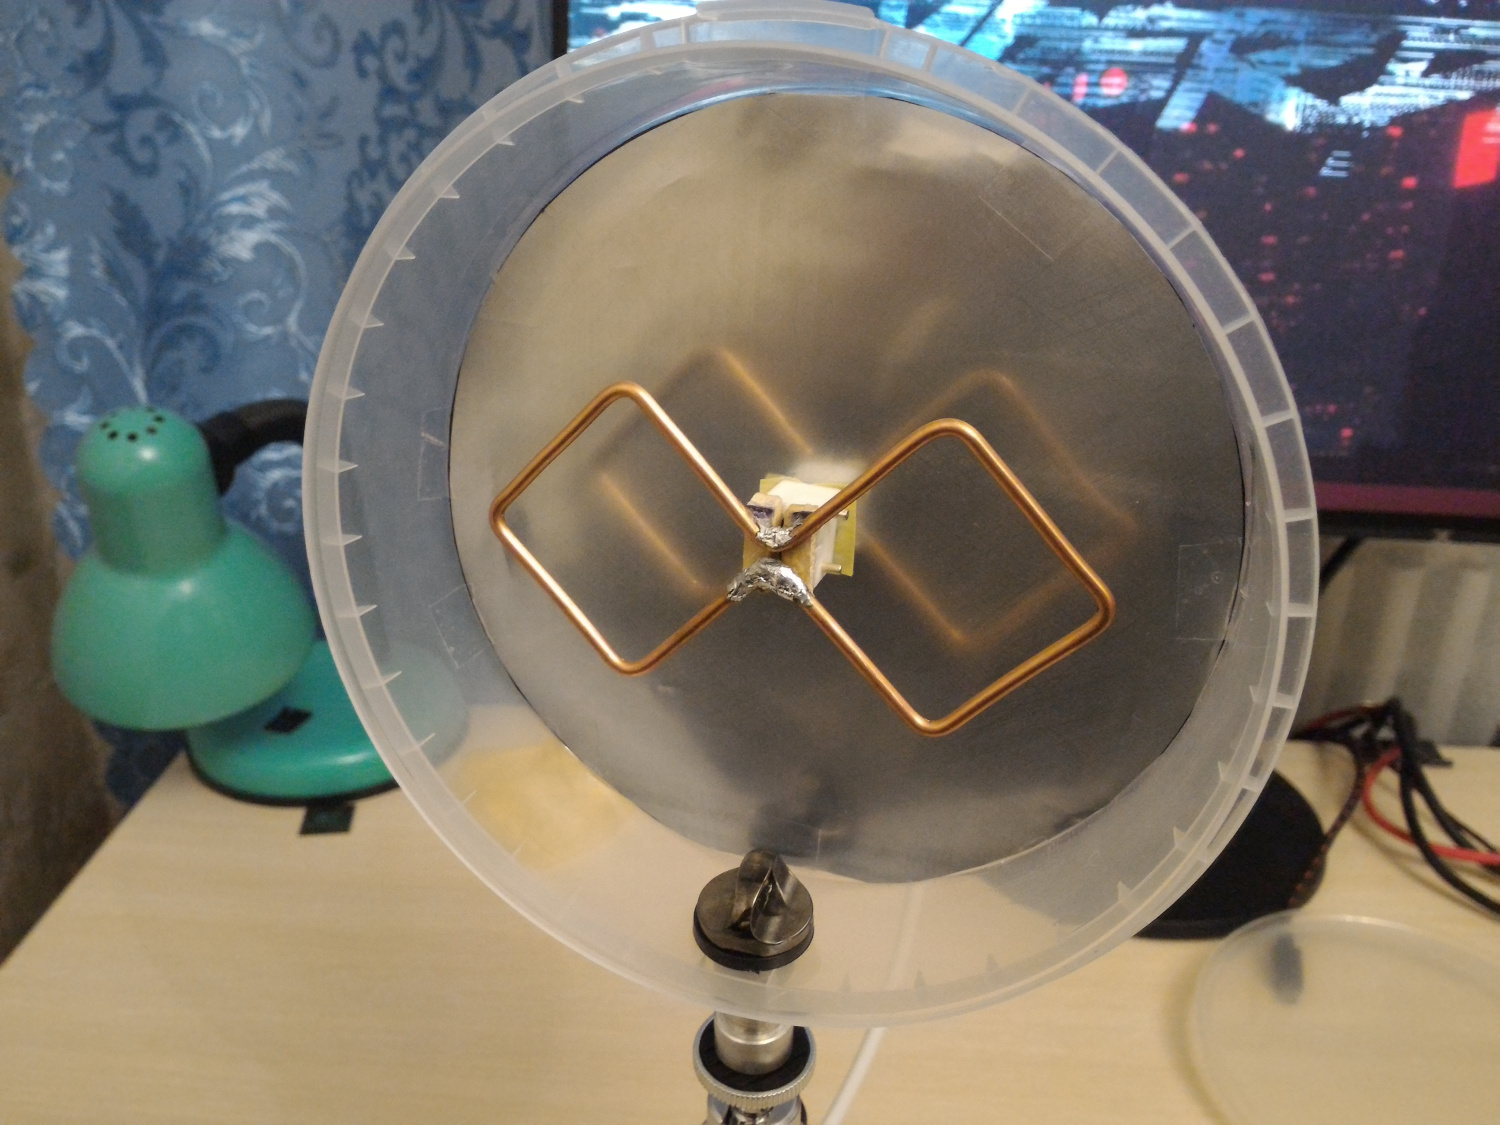
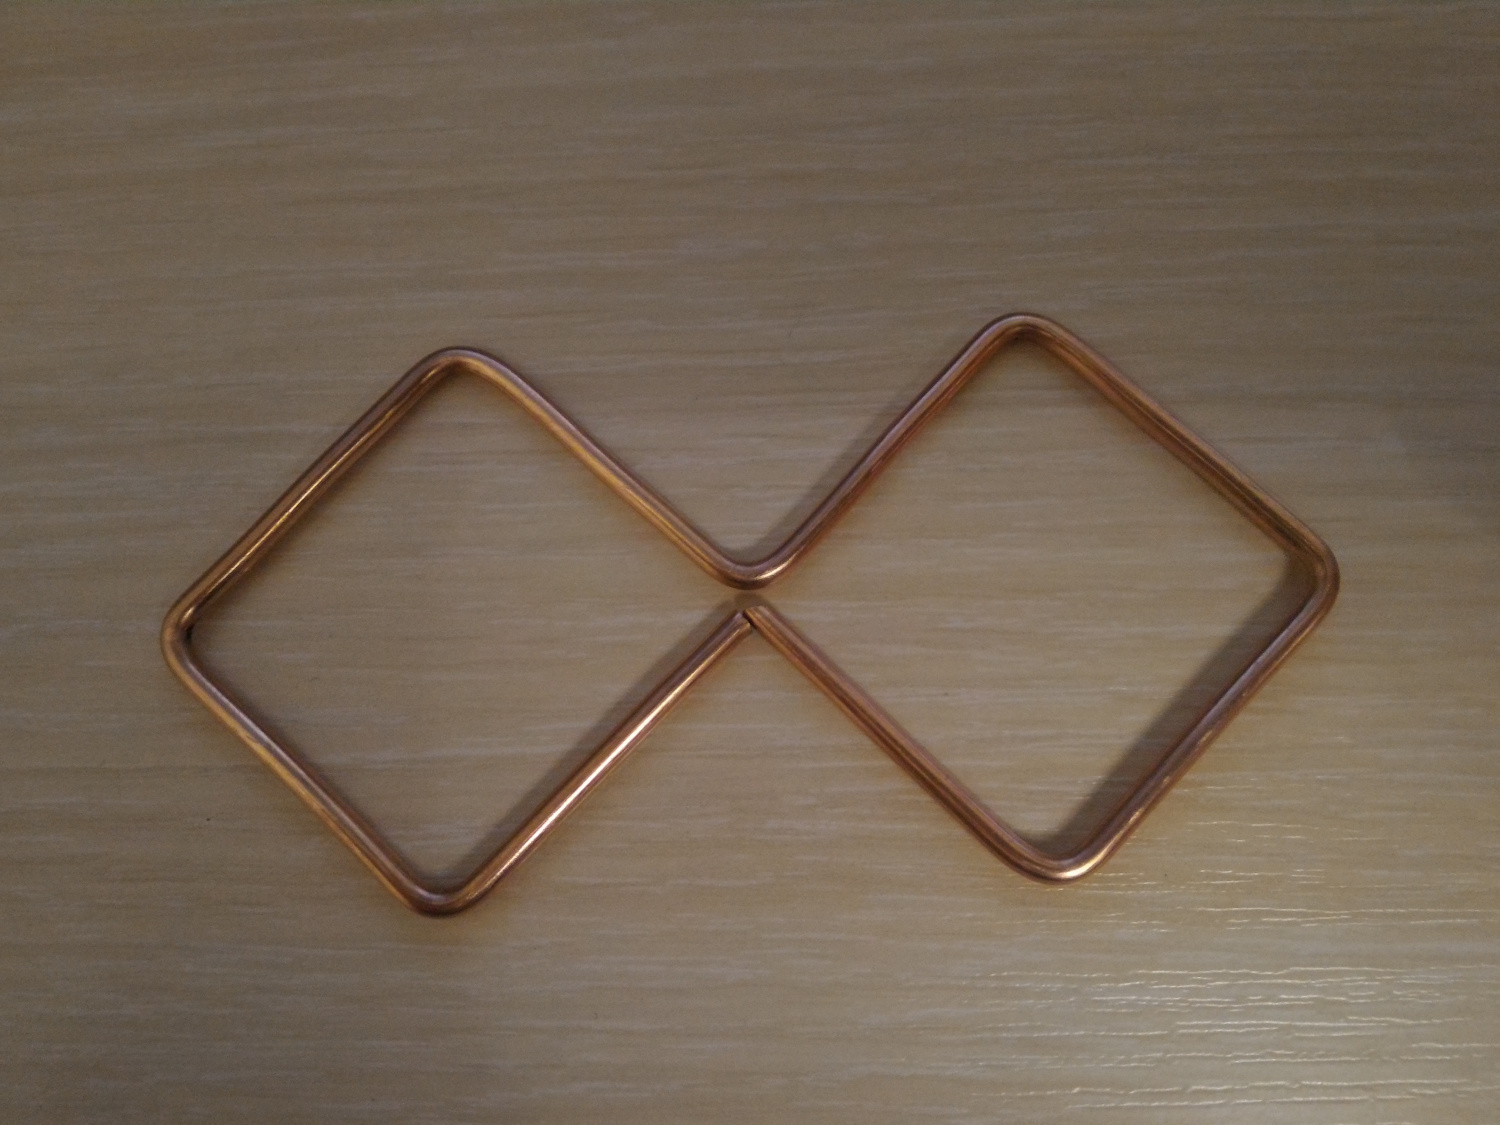
- Around 1 meter of thick copper wire (with the diameter of 2.5mm) for the vibrator. The aluminium one will do, but it is harder to solder.
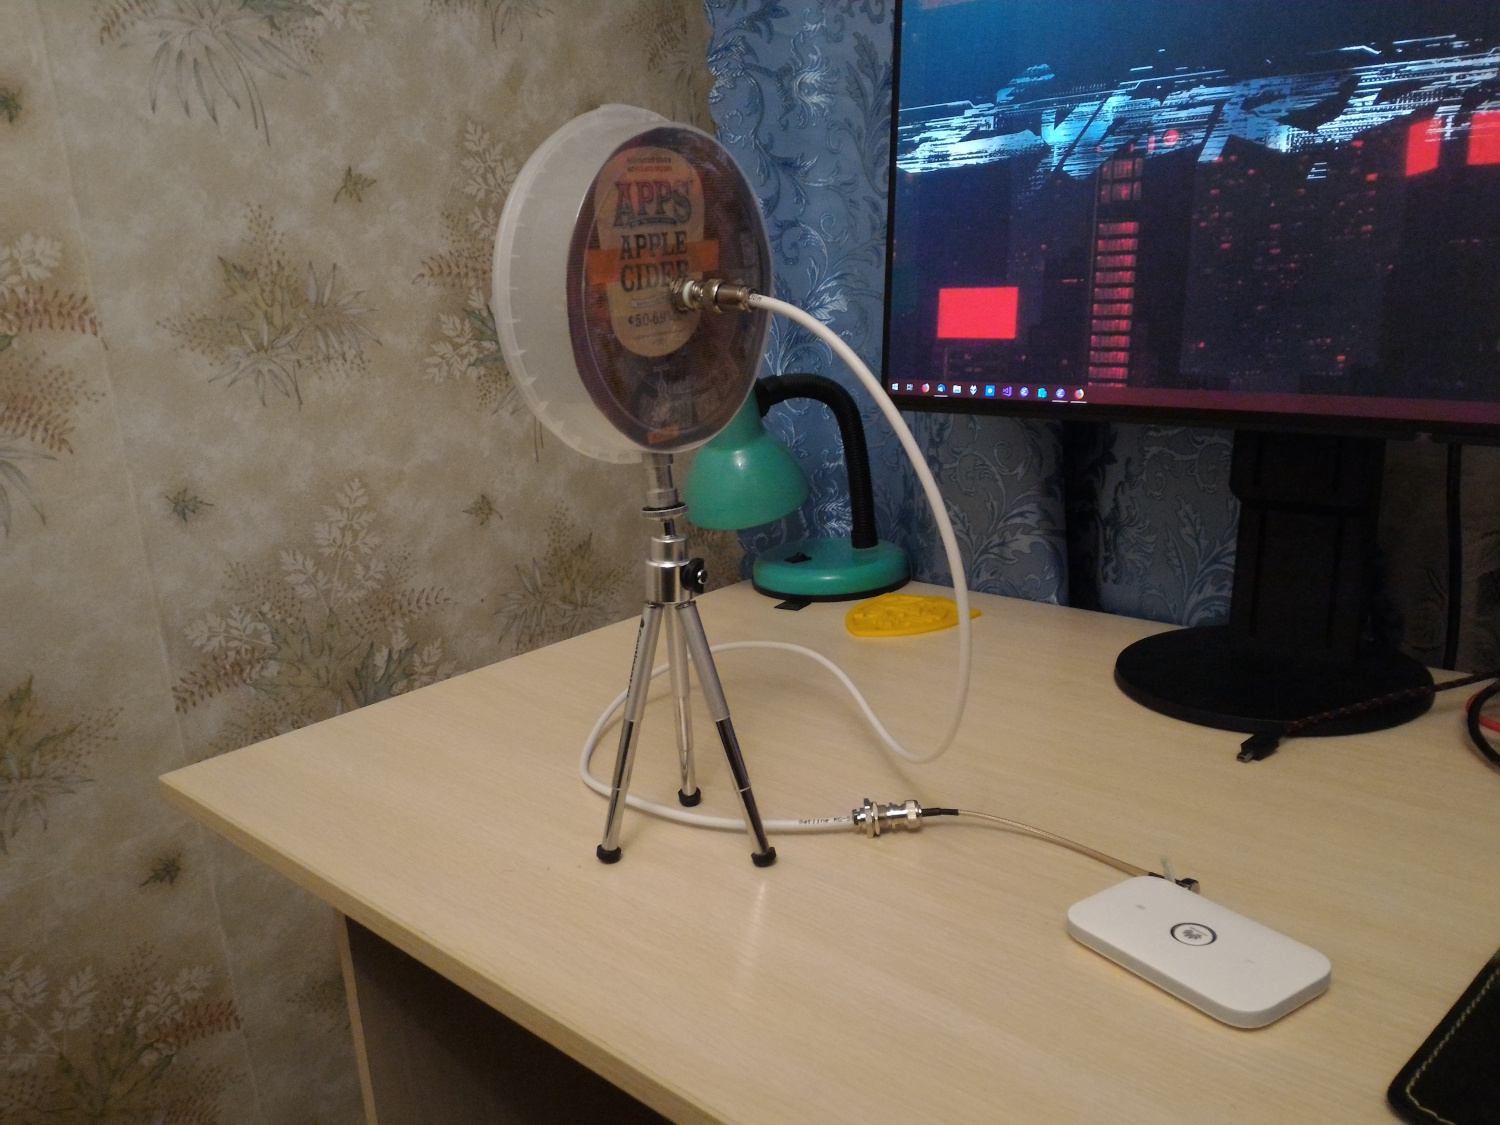
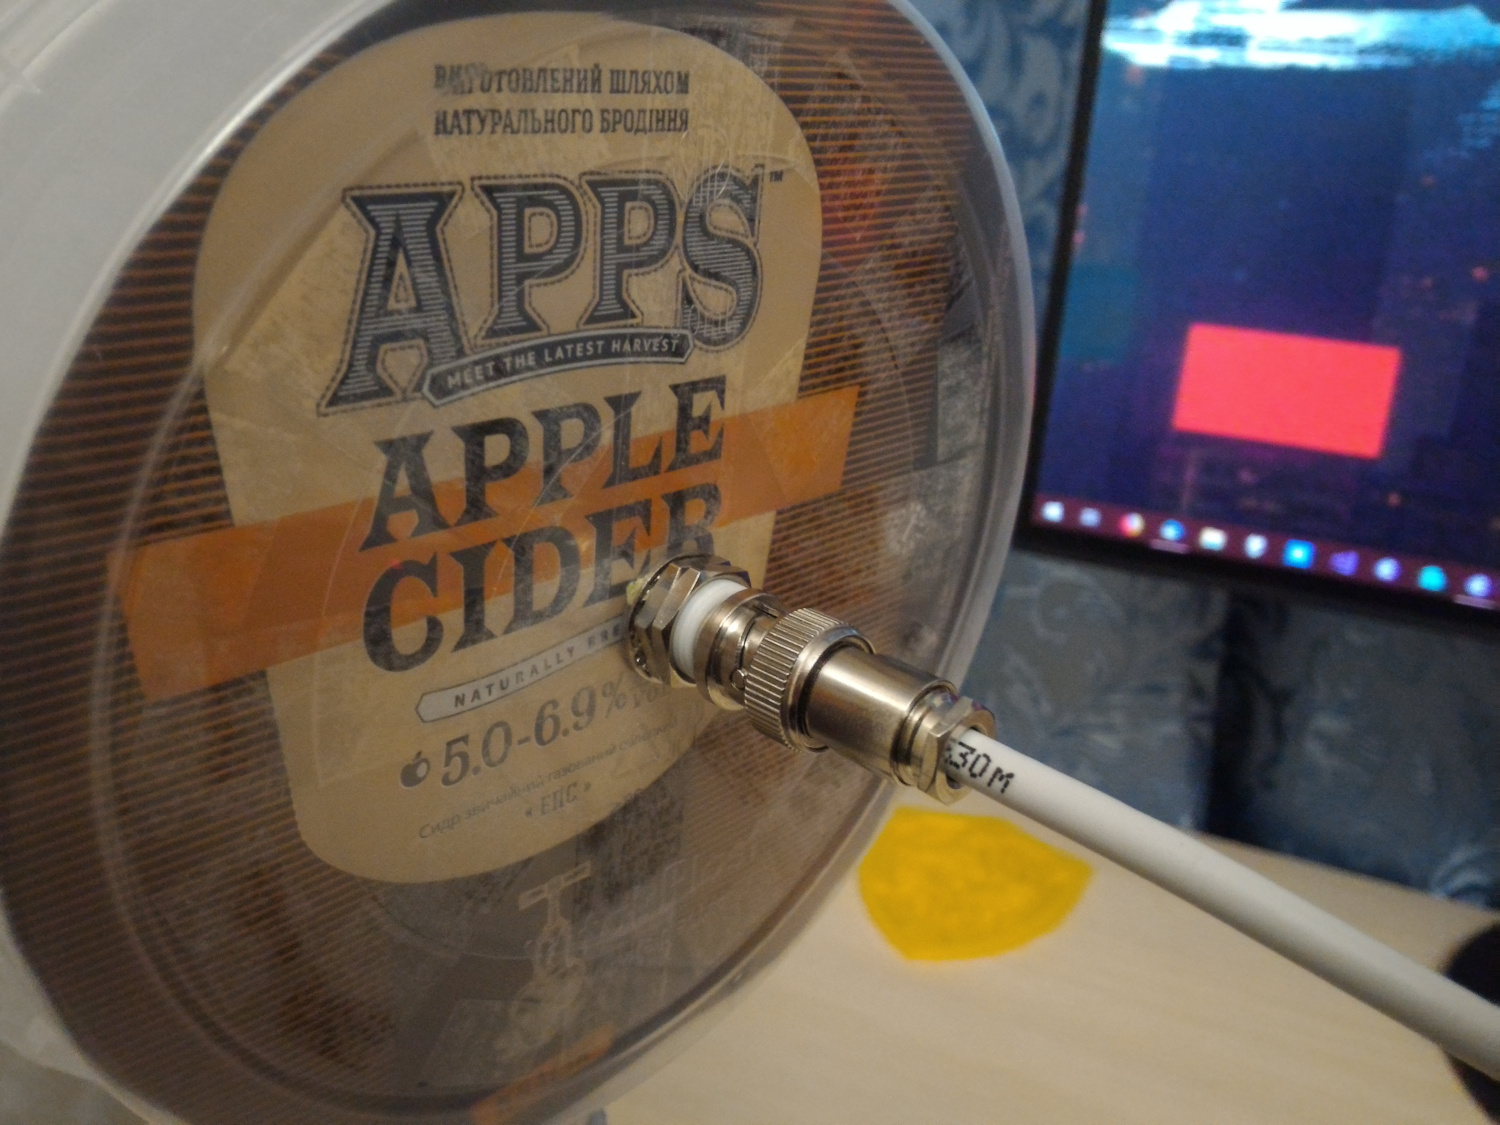
- A sheet of copper or aluminium for the reflector. I reused one from an empty aluminium can (from cider). In fact, any copper plated or aluminium plated material will do. If you have decided to follow my route, you might find this video very useful. I should note that reflector is not connected to the coaxial cable in any manner for this antenna. I have seen many similar antennas where it is, but, I believe, it is an error.
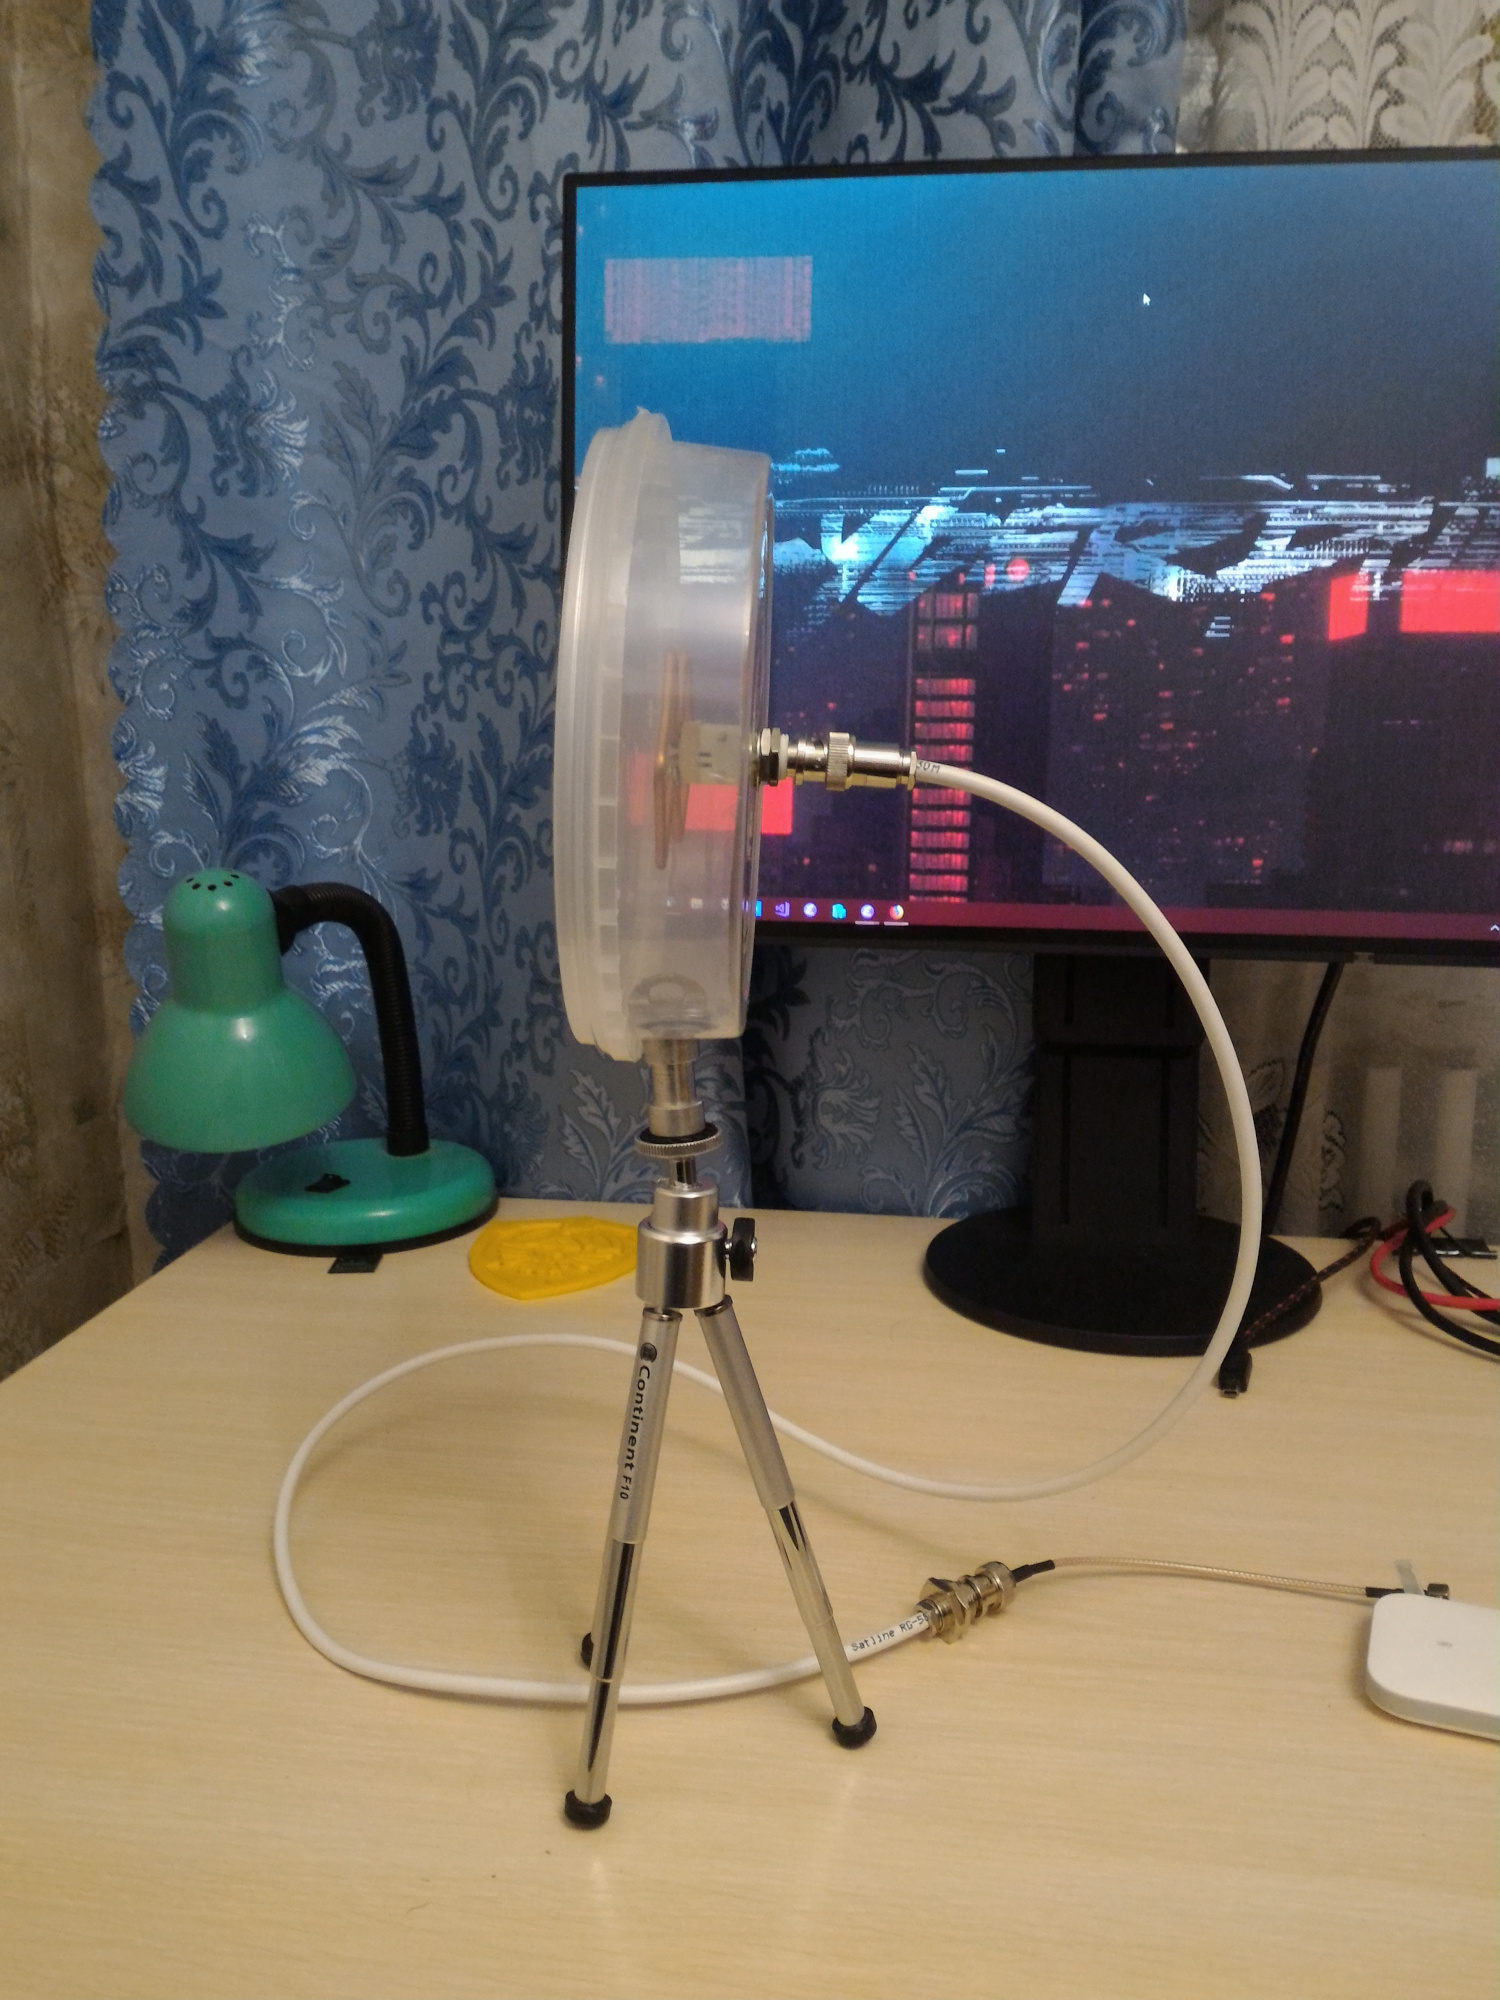
- A set of connectors. I used the BNC-connectors, but I would advise you to get N-connectors instead because they are better suited for the task. Try to avoid cheap connectors. Good connectors are vital for an antenna.
- Around one meter of 5Ohm coaxial cable. I used the thin RG-58 cable as I wanted the portable design, but ideally, you should use much thicker wire with the diameter at least 1cm, e.g. LMR-400 or RG-8. It especially makes sense if you want to make non-portable outdoors antenna. If you decided to use a thin cable for a portable variant, LMR-195 is better than RG-58. If you need a cable, which is much lengthier than one meter, use a thick cable due to huge signal loss.
- A [[https://en.wikipedia.org/wiki/Patch_cable]pigtail]] to connect the cable to a receiving device, e.g., 3G/4G modem or router. For example, the one I got is BNC to TS-9, but it depends on the device and, obviously, your choice of connectors. You might end-up with making the pigtail too. Avoid long pigtails due to signal loss. Ideally, it should be around 15cm, no more.
- A case, which suits your design. I adapted a thoroughly cleaned plastic can from the pickled herring.
- Optionally, a stand. I adapted a small tripod for a camera or phone.
As about the cost, I am not sure that buying a manufactured one costs significantly more, especially if you are going to buy the high-quality components. I do not care, because I made one for fun and buying something like an antenna is, basically, a hit-and-miss process. Moreover, I would always prefer a handmade thing to the one manufactured in China. Even if the last one looks better, the handmade one is less deceitful.
(The images are clickable.)

Categories: Electronics DIY